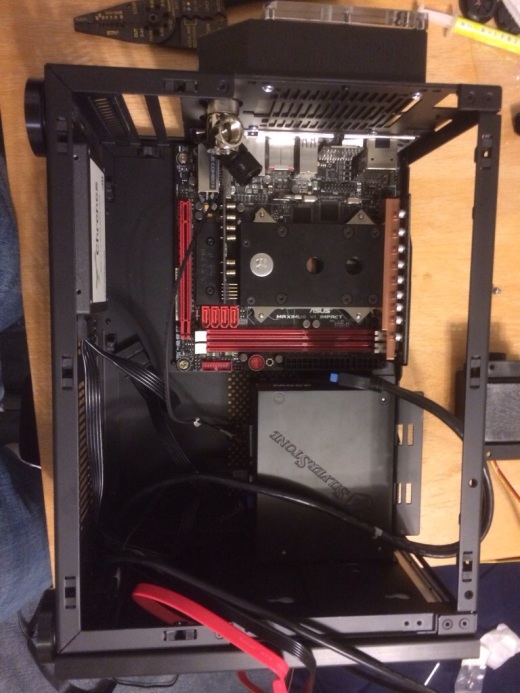
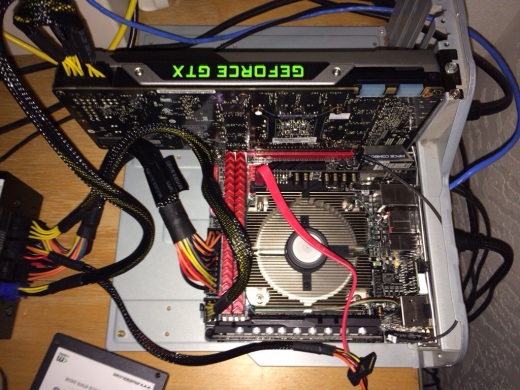
Watercooling

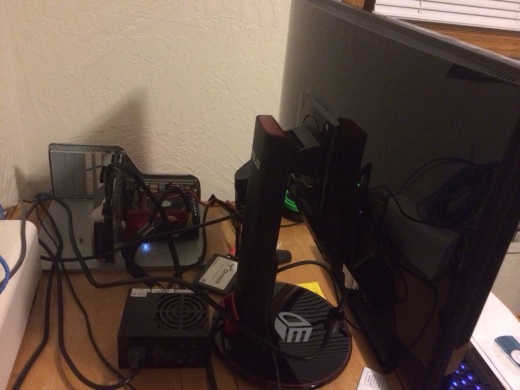
Finally, all parts are in and awaiting connection. This is, of course, after I figure out I needed to get more 90 degree adapter fittings to complete the loop, and had to wait 3 days to ship those. Ah well, I waited almost 2 months for a radiator, what’s another couple days?

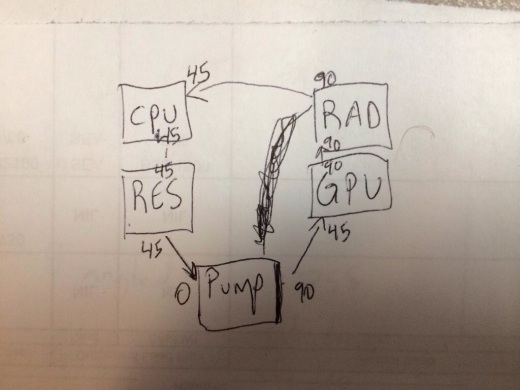
Anyways, the tentative plan was this: (excuse my napkin engineering)
20140316-153643.jpg
With the end setup being almost all adapters at 90 degrees, except 2. (one adapterless, one 45)

I wanted to complete the loop with as much space as I could manage between the CPU and GPU, so I could avoid hot water being pumped from one processor to another. I had to keep tubing to a minimum as well, while still allowing longer tubing on the radiator alone, so I could remove the radiator when I needed to change anything on the board, without having to drain and disconnect the loop.

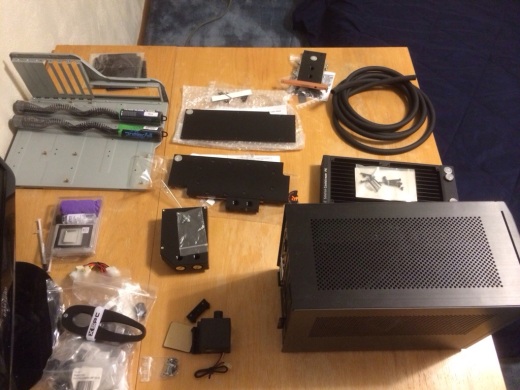
So Day 1, and getting all the parts ready:

20140316-154554.jpg

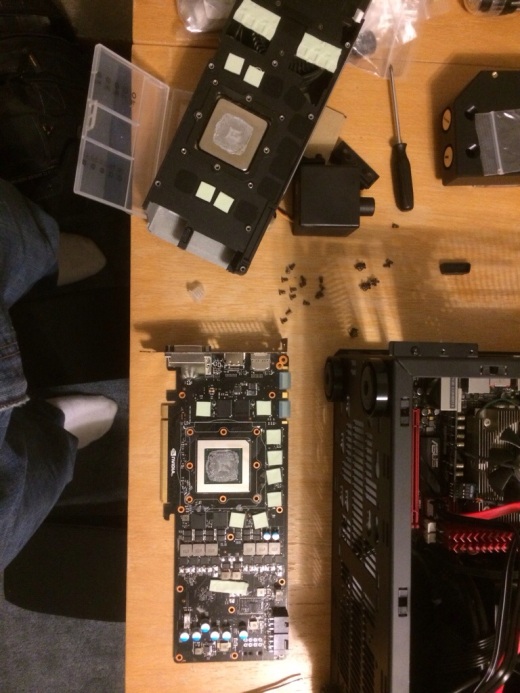
Getting the 780ti NEKKID!:

20140316-154612.jpg

“Lookit all dem chaste little VRM and memory chips covering themselves with thermal tape!”

20140316-154629.jpg
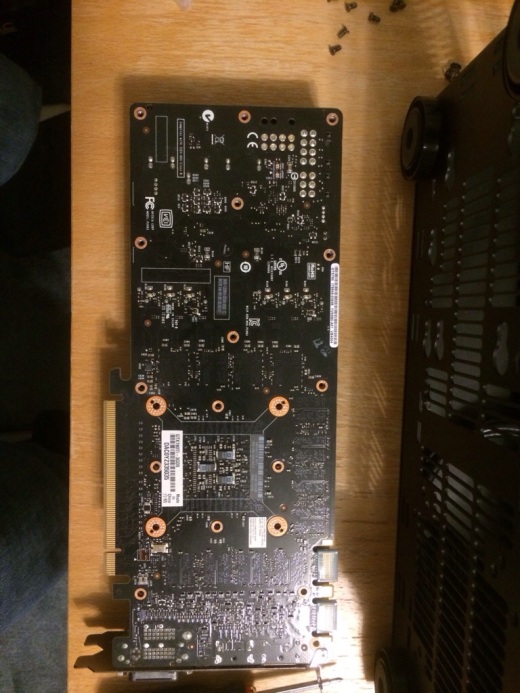
20140316-154652.jpg

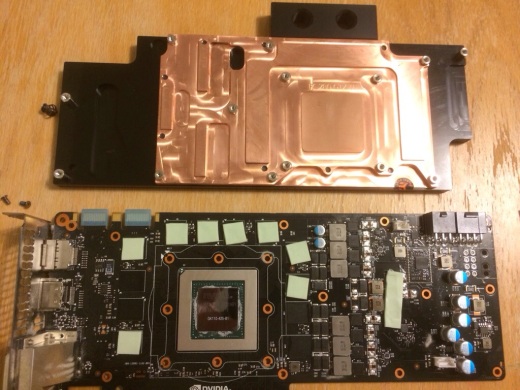
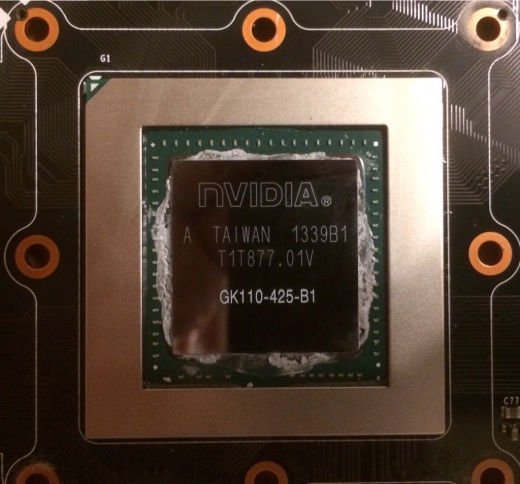
7.1 billion transistors, all in that teeny little space… Fascinating, no?
20140316-154644.jpg

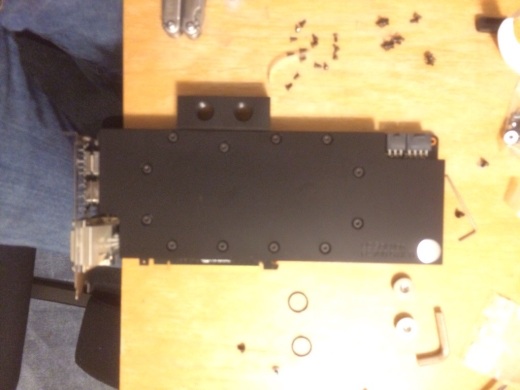
The GPU, with brand new, skin-tight, copper clothes!20140316-154704.jpg
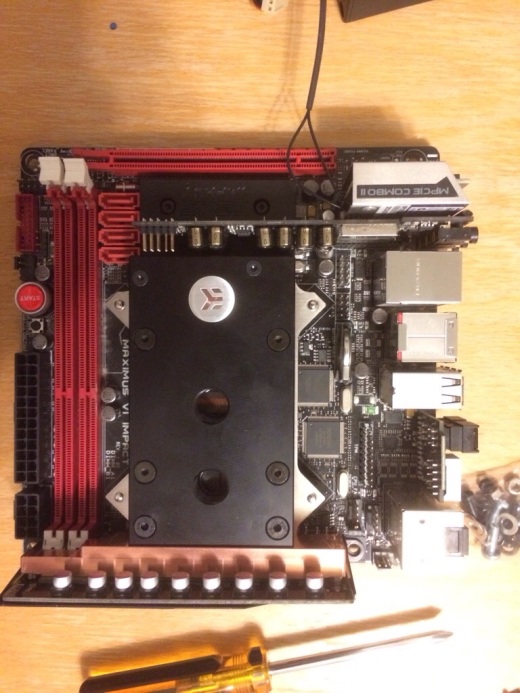
CPU and motherboard with the same treatment. Putting thermal tape on that VRM daughterboard on the bottom there was pretty rough.20140316-154714.jpg
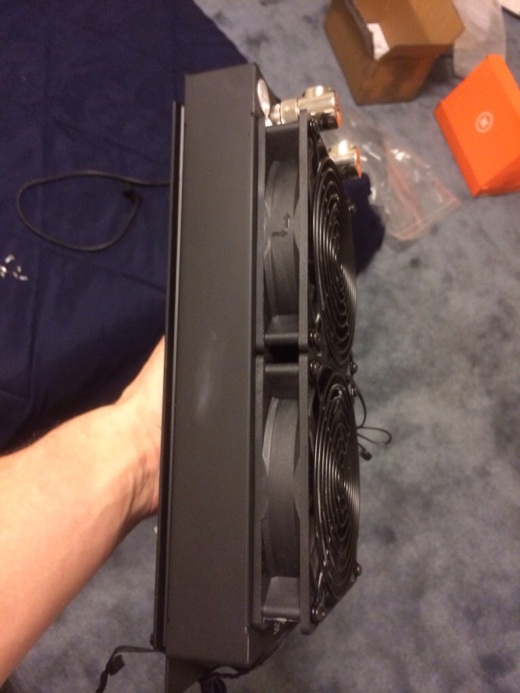
Initial radiator setup, which changed to a slimmer 12mm thick 120mm fan on the fittings side, so the adapters could redirect tubing in a way that avoided kinks.20140316-154752.jpg
20140316-154801.jpg

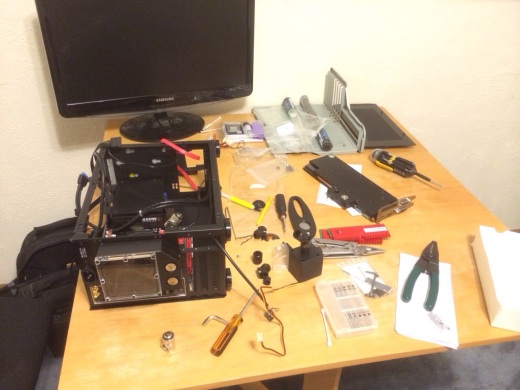
End of Day 1, and my hands were nearly stripped fleshless from screwing and un-screwing brass fittings for 6 hours straight. It was worse than Gi-hands, I tells ya.
20140316-154836.jpg

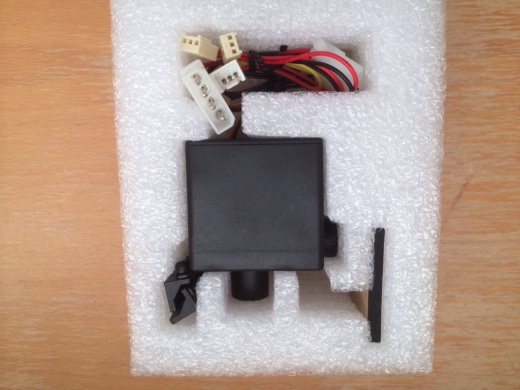
Day 2 starts with the pump placement, and it seems a perfect fit is in order. Finally, something going right on the first try!
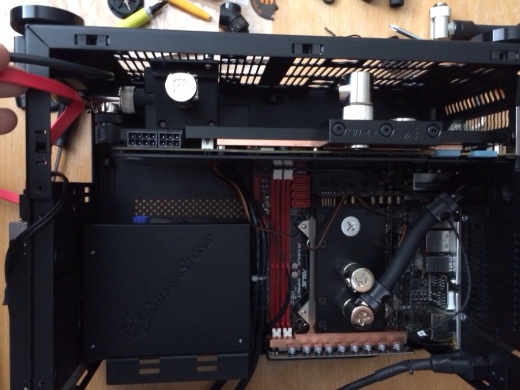
20140316-154927.jpg
20140316-154859.jpg

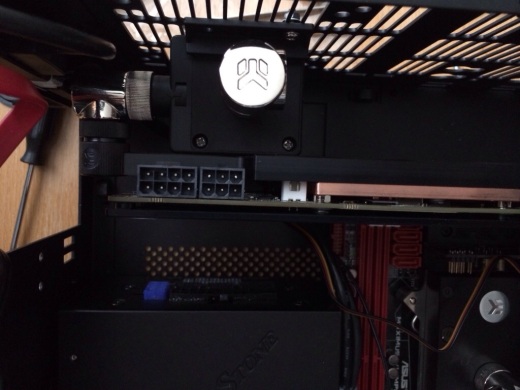
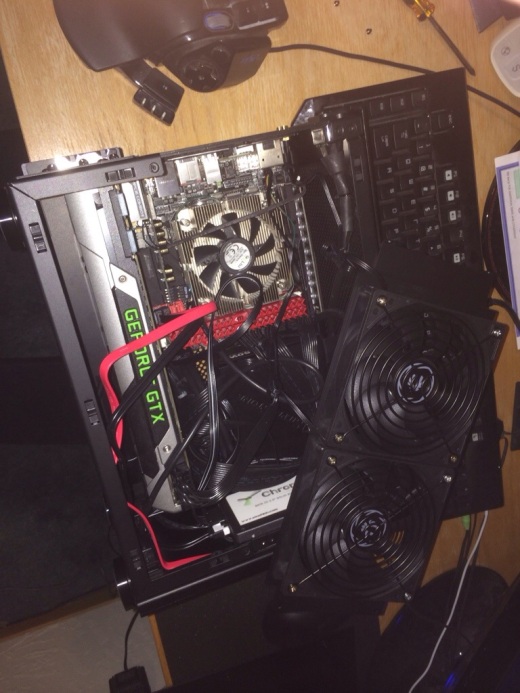
Video card in, block and all, and things are already getting cramped in here.
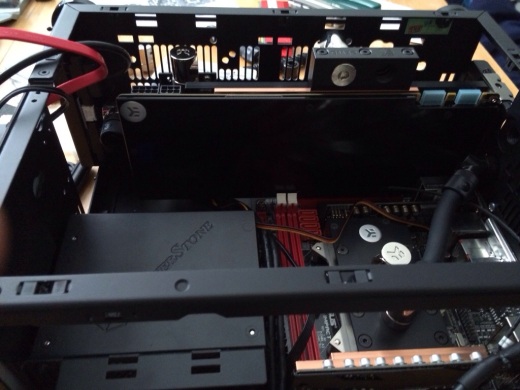
20140316-154940.jpg

Using an old trick to ground the standby wire and trick the PSU into thinking it’s attached to a motherboard. I needed to test the orientation of the slim fan on the right, to make sure it was pulling air through the radiator. 20140316-154959.jpg
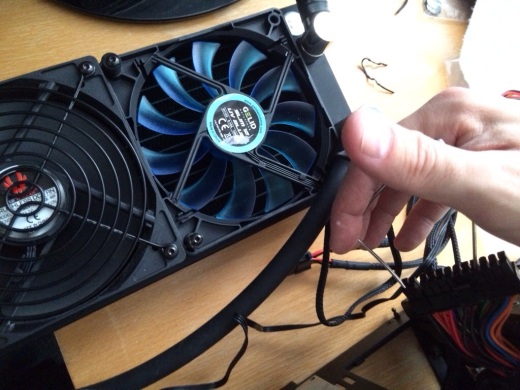
Radiator in, and there’s simply so little space in here, I’m amazed it all plays nice.20140316-155013.jpg
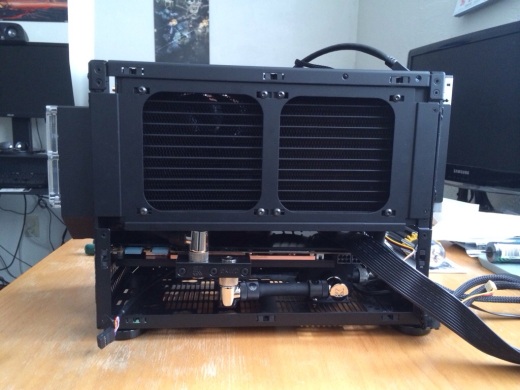
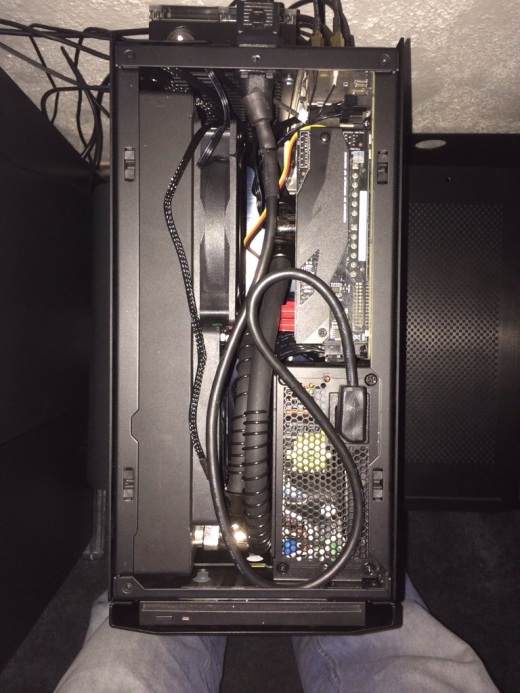
Tubing all done, and you can see what I was talking about earlier with longer tubing on the radiator itself, so I can do things like what is pictured here, without disconnecting and draining the loop. That’s anti-kink coil on the rad tubing for peace of mind.20140316-155023.jpg
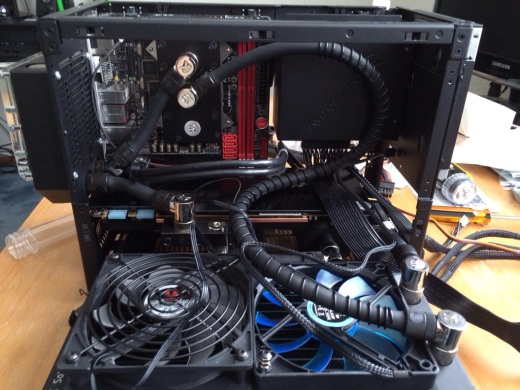
All together now, coolant in, no turbulence, no bubbles!20140316-155031.jpg
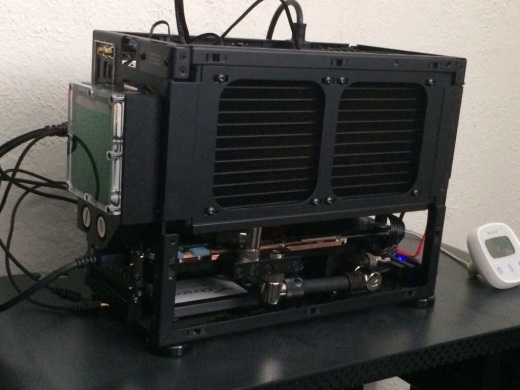
“Stress testing” with Guild Wars 2. Numbers after the pic dump.20140316-155038.jpg
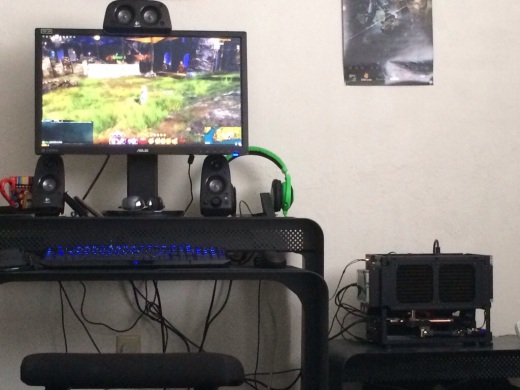
Not a millimeter went to waste…20140316-155051.jpg

All in all, this build was easily the most brutalizing, demoralizing, and trying project I’ve ever had. The sheer lack of space made my last case and build look like a walk in the park, and that thing was tiny. The elbow grease paid off though, and the results were simply amazing. The custom EK Waterblocks loop, with a mere 240mm radiator, running on 1 25mm thick by 120mm, and 1 thinner 12mm thick by 120mm fan, sees the GPU at no higher than 49 degrees celsius, under load. (It hit 52 overclocked by another 200 mhz!) It’s load temperature is lower than my idle on air was! The CPU isn’t too far behind at 62 degrees under load (around 70 with the clock speed at 4500 mhz, and voltage set at 1.300) and I plan to play with both as I push the system to it’s limits under water, in the days to come.
Posted in Uncategorized | Leave a comment

Heckler Design Onelessoffice

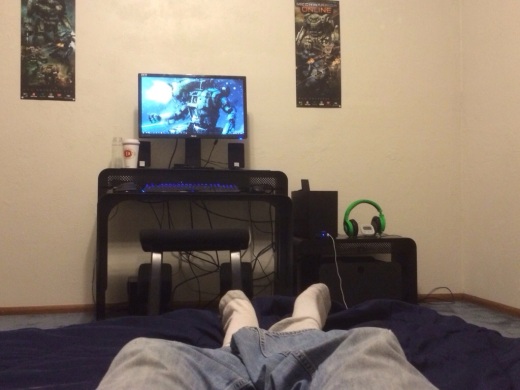
It finally got in! I managed to fenagle my way out of crippling shipping costs due to some family connections with a freight forwarding service, (saved about 400$ in shipping costs) with the stipulation that I had to drive to Soldotna to nab it.

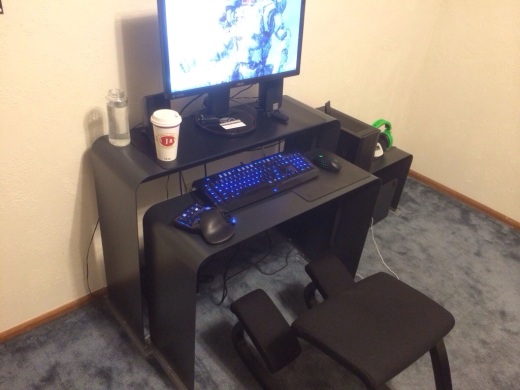
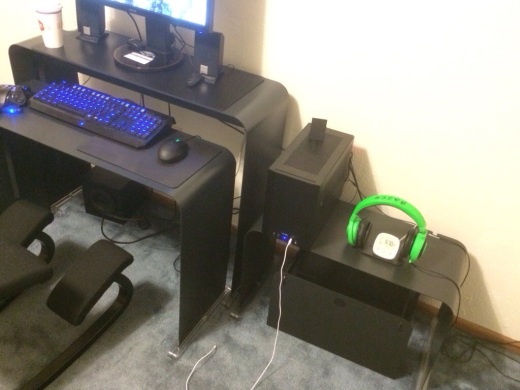
It’s amazing. The build, the color, the quality, the design… A solid 10 across the board. You can feel the build strength when you move them, the sheer weight of the pieces alone is telling. This desk is built to last, and I imagine it’ll be the last desk I’ll ever have.

There is a shelf built into it, just beneath the surface itself, with small cuts into the rear of the shelf to wrap stray cord around and keep things neat. I have my surge protector and external hard drive tucked away into it now, and it appeals even more to my minimalist nature.

I’ll be using my old desk as a workbench in the mean time, until I can get a proper LAN station.

My sanctuary is almost complete!

20140205-160007.jpg

20140205-160018.jpg

20140205-160026.jpg

Posted in Projects | Leave a comment

G-Sync

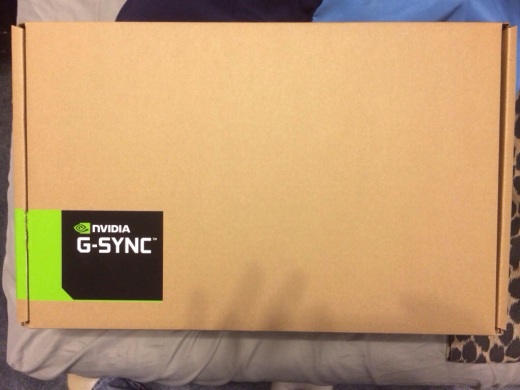
It showed up today!

20140122-170439.jpg

No more stuttering, horrible artifacting with horizontal movement, input lag, anomalies during FPS drops, etc… Finally, we’re starting to take notice of unacceptable visual quality and practices.

Even better that I nabbed it in DIY form, as you know how I like to get my hands dirty! (Impressions soon…)

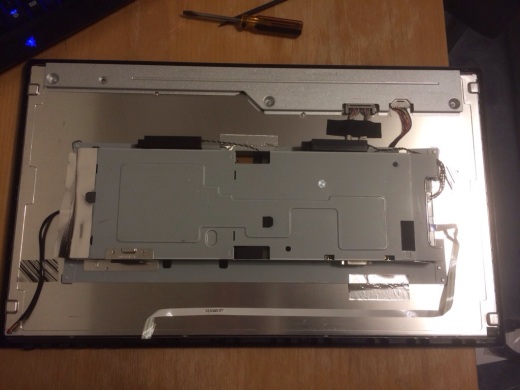
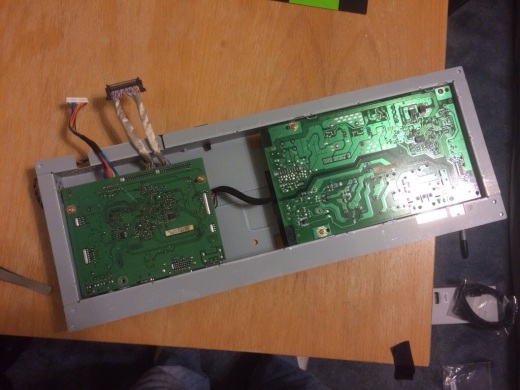
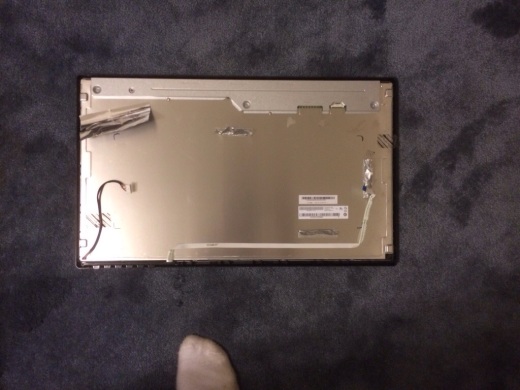
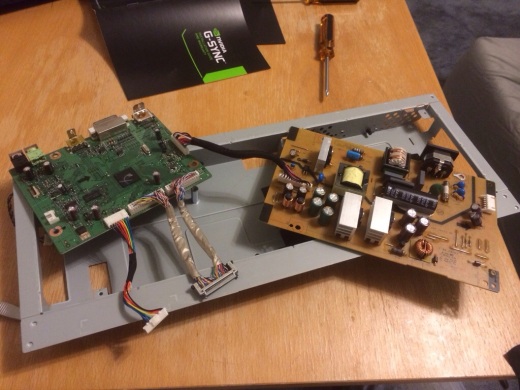
I had to take the back off of the Asus VG248QE and get into the case, to pull the original board and scaler out, and completely replace them.

20140122-170447.jpg

20140122-170454.jpg

20140122-170500.jpg

Here’s the old board:

20140122-170507.jpg

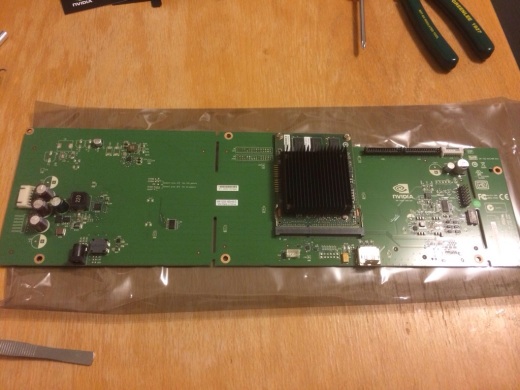
G-Sync enabled board all ready to be put in:

20140122-170513.jpg

After playing around with it for a while, I can most definitely tell a difference. It’s somewhat subjective, but I’ve noticed my mouse responds to my movements more accurately. That is, there is no input lag, and I had to modify my playstyle to match. There was a lot of under and over shooting my targets for the first day or two, and I had to increase the polling rate and DPI a bit to help compensate for the new “sensitivity”. All in all, it’s just one of those things that’ll help me flesh out my experience in my beloved pvp environments.

Posted in Uncategorized | Leave a comment

Parts, parts, and more parts!

Sporadically, for the last 2 weeks, I’ve had my watercooling loop equipment arriving by mail, from various areas. My vendors didn’t have a few parts I needed, so I ordered them from the manufacturer… in Slovenia.

Anyways, it’s starting to show up now, and here’s some beauty shots:

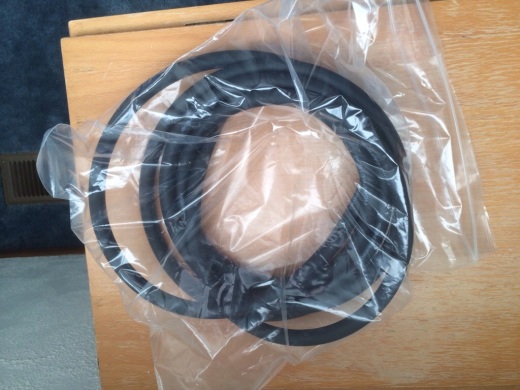
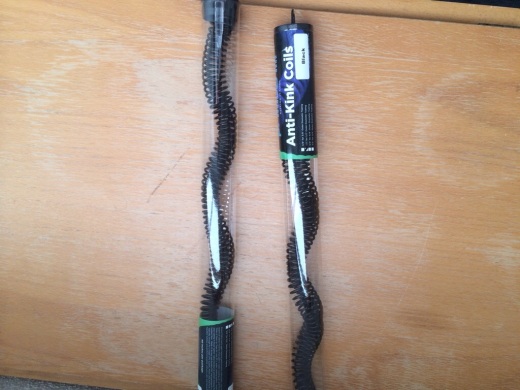
10 feet of norprene 1/2″ outer diameter/ 3/8″ inner diameter tubing with 4 lengths of anti-kink coil

20140205-160944.jpg

20140205-160951.jpg

10x G 1/4″ EKWB 1/2″ OD/3/8″ ID compression fittings

20140205-161053.jpg

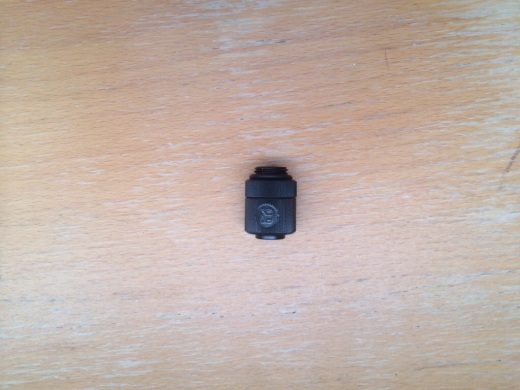
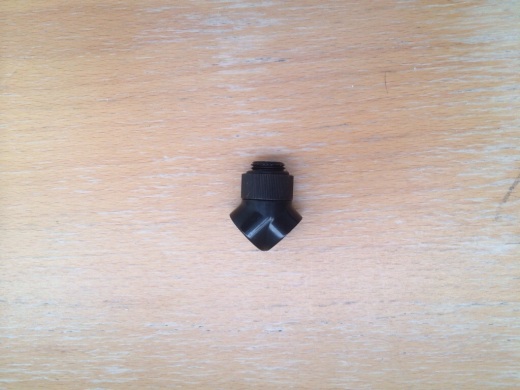
4x G 1/4″ EKWB 1/2″ OD/3/8″ ID 45 degree angle adapter

20140205-161134.jpg

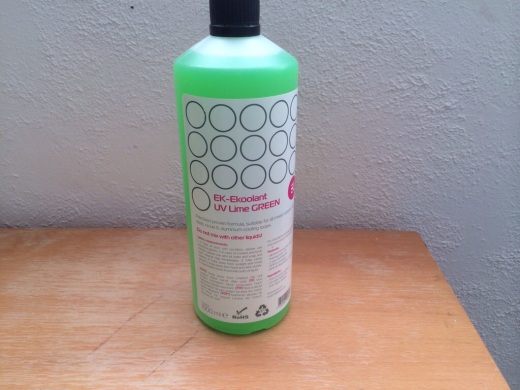
2 liters of EKWB UV reactant, corrosion resistant, green, premixed coolant with biocide (1 is still on back order)

20140205-161308.jpg

1x 1″ tubing cutting tool

20140205-161356.jpg

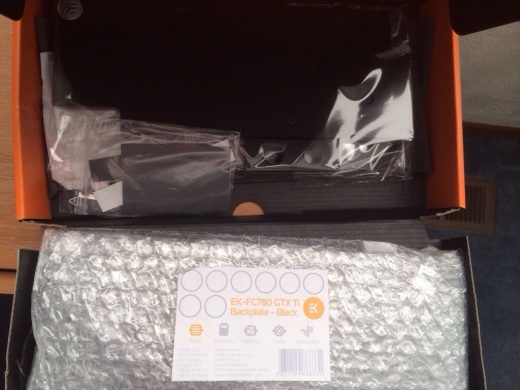
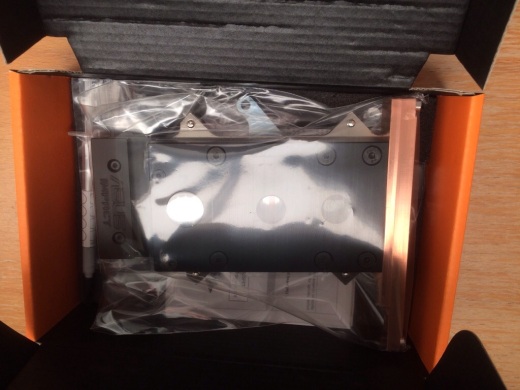
1x EKWB full coverage waterblock for the GTX 780ti, and a backplate for good measure

20140205-162048.jpg

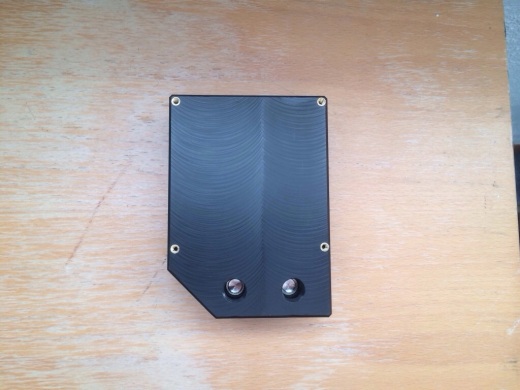
1x EKWB full coverage waterblock for the Asus Maximus VI Impact – The board’s so small that they just lengthened the sides of the CPU block to cover the VRM daughterboard on one side and the PCH on the other, then voila! Full coverage!

20140205-161734.jpg

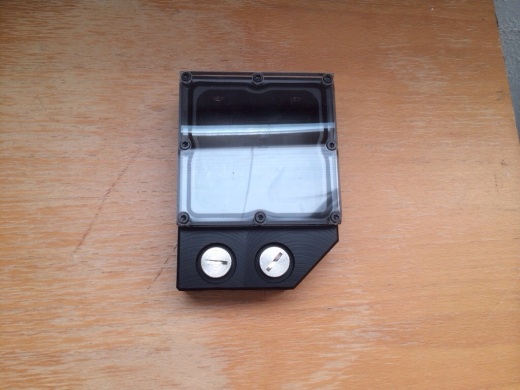
1x Custom reservoir, built to this case’s specifications

20140205-162054.jpg

20140205-162100.jpg

And 1x EK-DCP 2.2 (12V DC Pump).

20140205-162355.jpg

Unfortunately, the 240mm radiator and 90 degree adapter fittings were on backorder, so I’ll have to wait for at least the rad to get the project under way. Can’t wait though! My first custom loop, going to be so much fun. And quite the challenge in this case.

Posted in Uncategorized | Leave a comment

M1 Travel case

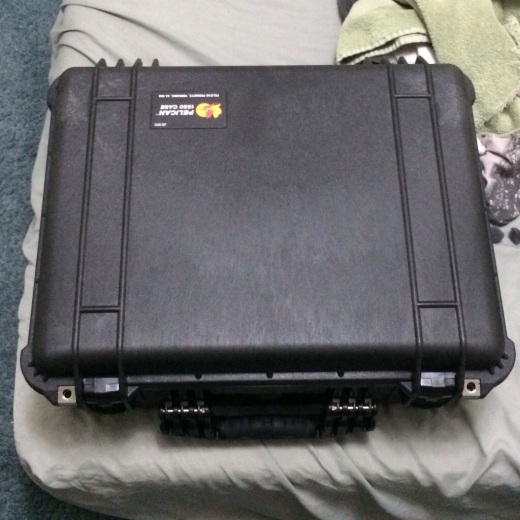
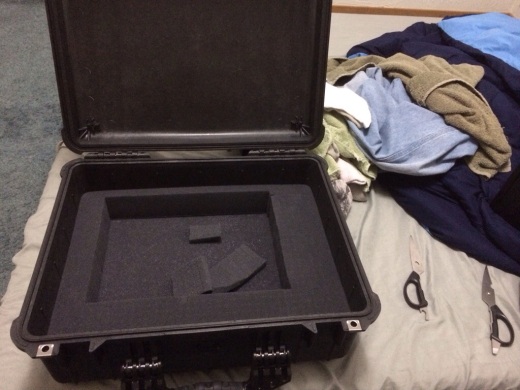
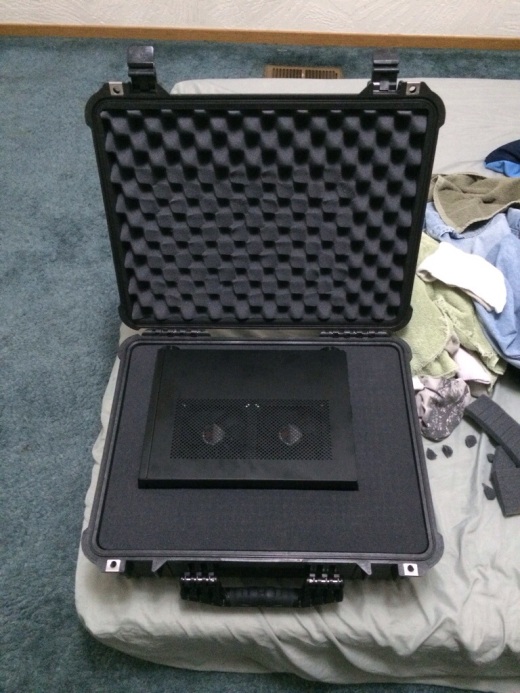
Picked up a pelican 1550 for the M1 today:

20140106-224930.jpg

20140106-224942.jpg

20140106-224957.jpg

Fits well, with enough padding all around to soothe my BYOC worries.

Posted in Projects | Leave a comment

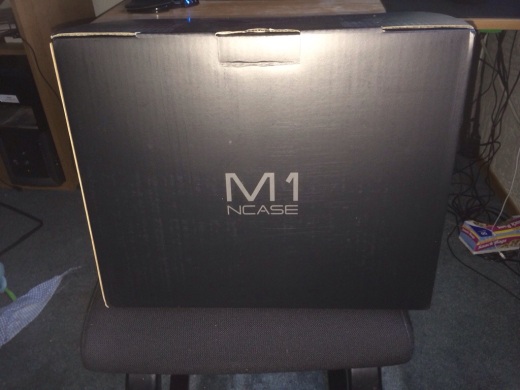
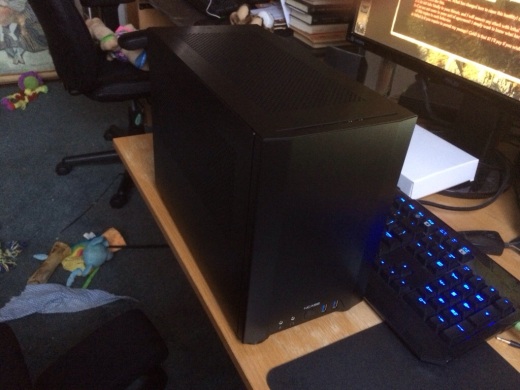
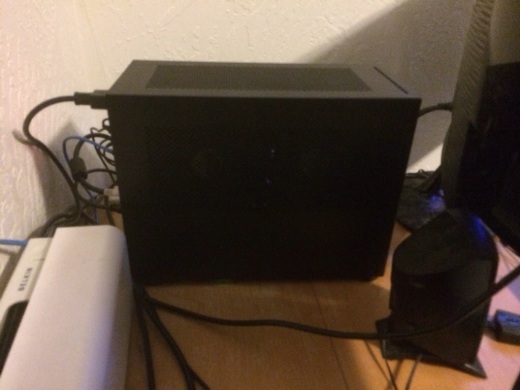
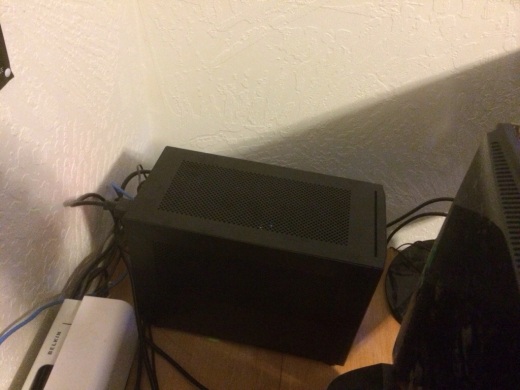
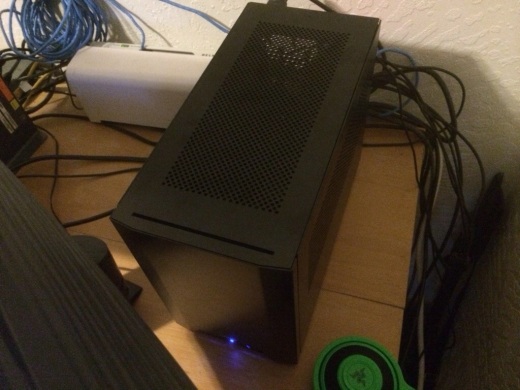
Ncase M1 has arrived

It’s here! #297 of 1200, I believe.

20140106-220345.jpg

20140106-220355.jpg

20140106-220406.jpg

20140106-220419.jpg

20140106-220435.jpg

20140106-220444.jpg

20140106-220455.jpg

In all it’s tiny glory.

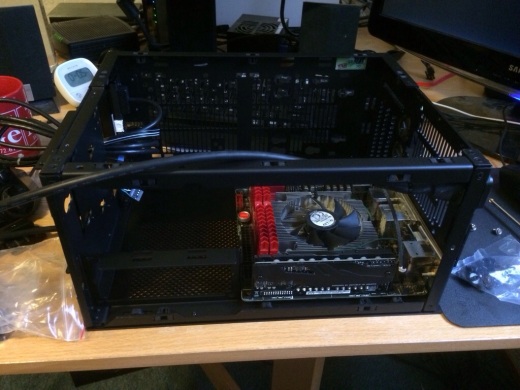
The transfer was pretty brutal, to say the least. The case was designed to be a tight fit from the conceptual phase, so I knew what I was in for, that and I’m no stranger to tiny builds. (My first project was smaller)

The flat PSU cables I bought helped as well, and I tried to hide the 24 pin molex connector and the 8 pin ATX connector underneath the motherboard itself, but sadly, they are not that agile. Perhaps I will try to move them underneath the tray next I’m in there. I left quite a cable mess in there in my haste to transfer the system.

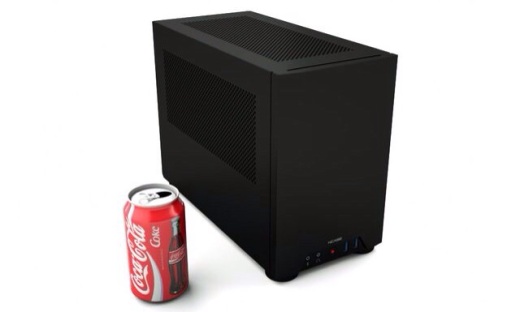
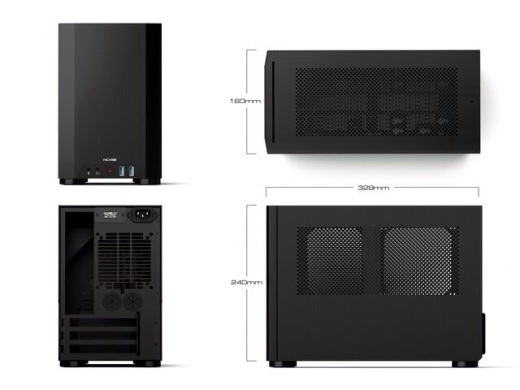
Here’s some extra perspective and dimensions:

20140106-221415.jpg

20140106-221522.jpg

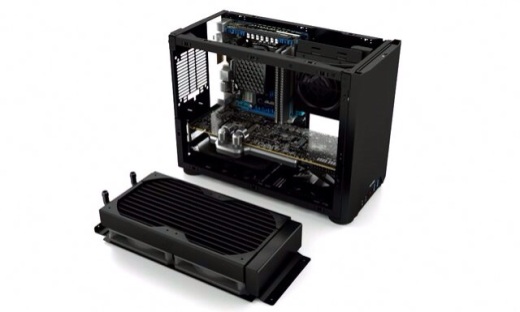
And yes, those are inlet and outlet ports for a liquid cooling system’s reservoir, which I have coming to me in the mail at this moment, custom made for this bad boy alone! The M1 was designed in mind for a liquid cooling system as a viable option, which is generally not the case with smaller setups.

20140106-221913.jpg

The creators toyed around with a closed loop cooling system (the Swiftech H220, render shown above) to help build a basic idea of what it would require to effectively jam one into the M1. To save space, they used a waterblock with an integrated pump, and a radiator with an integrated reservoir. Their results were as follows:

The Alphacool GPU block didn’t have active cooling for the VRMs (the block covers them, but there are no water channels there), so unfortunately I faced a similar situation as with the Accelero: inadequate VRM cooling under extreme load conditions. Fortunately, under normal usage scenarios, it’s not a problem. Nevertheless, because of this I was only able to get Furmark measurements at stock clocks on the GPU:

Furmark, 1 hour
22C ambient
2×120 side fans in @1800RPM, 1x92mm bottom fan in @1500RPM, pump @1975RPM
7970@stock: ~77C GPU, ~103C VRMs
CPU: ~51C

As with the Accelero, I used Heaven to get overclocked temp readings:

Heaven, 30 minutues
22C ambient
2×120 side fans in @1800RPM, 1x92mm bottom fan in @1500RPM, pump @1975RPM
7970@1125/1575: ~67C GPU, ~80C VRMs
CPU: ~49C

Heaven + Prime95, 30 minutues
22C ambient
2×120 side fans in @1800RPM, 1x92mm bottom fan in @1500RPM, pump @1975RPM
7970@1125/1575: ~71C GPU, ~79C VRMs
CPU: ~74C

Under gaming loads I was able to turn down the fans and pump while maintaining reasonable temperatures:

Gaming
22.5C ambient
2×120 side fans in @1550RPM, 1x92mm bottom fan in @1500RPM, pump @1475RPM
7970@1125/1575: ~64-68C GPU, ~72-77C VRMs
CPU: ~56-59C

Overall, temperatures were a bit higher than what was achieved with the NH-C14/Accelero setup, although the GPU VRMs stayed cooler. It should be noted this setup has only two 120mm fans, vs. the C-14/Accelero’s four, so there’s a significant difference in airflow.

Once again, the top panel got fairly warm under load. Needless to say, whether it’s air or water cooling, the components are still generating the same amount of heat, and it’s going to warm up whatever it passes through. The rest of the case exterior stayed relatively cool, however.

Max temp reported by the Intel PCH on the motherboard was 66C, while the inside front and bottom-mounted SSDs reported 46 and 43C, respectively. Probably on the hot side for a mechanical drive, but acceptable for solid-state.

I will most likely be going with a full custom setup, even though getting a CLC system appeals to my laziness, especially at this point. So I should expect similar or even better results, due to the build quality of custom kits. As of now, my overclock won’t actually function with any sort of stability in this set up, due to the heatsink being inadequate for the task. Which makes sense, seeing as how it’s built for a much smaller environment (it’s a 1U cooler; 31mm) and lower TDP. So I had to revert to the base clock and undervolt, but now all is well, and it still performs amazingly. I’ll just have to start planning for that liquid cooling kit.

Posted in Projects | Leave a comment

BB’s peripherals

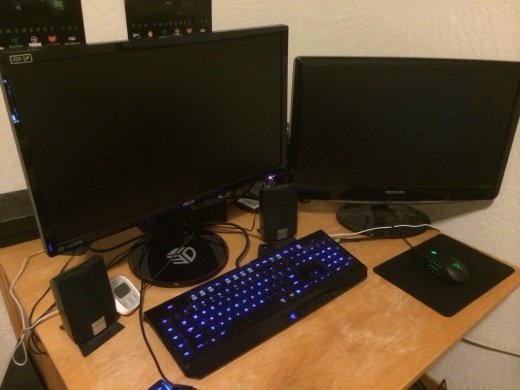
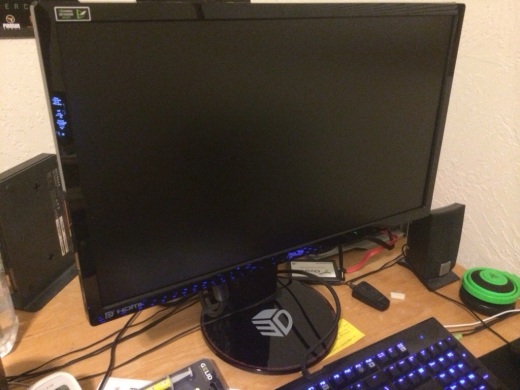
I picked up an Asus VG248QE – 24″, 1920×1080 native resolution, 1 millisecond grey-to-grey response time, and 144hz refresh rate. But the killer is that it is ready for Nvidia’s G-Sync module in a DIY kit form, that they will supposedly be coming out with soon.

20131221-235358.jpg

20131221-235409.jpg

20131221-235421.jpg

Now that I’m able to push past a 60hz refresh rate, I disabled Vsync in some of my games, and the GPU is FINALLY doing some hard work. I’m finally seeing 98% utilization in everything I use. My mouse, and the scenery is more responsive, and although not quantitative, I feel that as a player, my performance has smoothed out a bit.

In preparation for the Ncase M1, I picked up some specially designed cables to save space and improve airflow:

IMG_0157[1]IMG_0154[1]

As the box says, flat and flexible. I’ll be able to maneuver them around the motherboard tray in the M1, and avoid some serious cable mess. The M1 needs to hurry up and get here…

Posted in Projects | Leave a comment

BBIII (Beta) Part 2

I tinkered with the CPU last night, pushing the clock speed up to 4 ghz, in an attempt to see what kind of voltage, wattage, and temperatures I should be dealing with at that speed.

My goal for that night, before the hundreds of directkey restarts, was the 4 ghz I attained, so I bumped up the clock speed until it crashed, bumped up the voltage until it was stable, repeat. I ended up with 1.100 on the Vcore, multipliers of x40 on the CPU, and stuck with the standard x100 on the bus clock. (It was a very simple overclock, so no extreme overclocking “acrobatics” were necessary) At 4 ghz, wattage increased by about 20, as the CPU itself drained a bit more power, and the new clock speed allowed the GPU to open up a bit in some of “benchmarks”, also increasing usage. GW2 saw an FPS increase, as utilization increased to an average of 90%, from 78% or so. Battlefield 4 is showing a pretty solid 100-110 FPS at max settings in multiplayer, with the GPU pegged at a solid 98% utilization, which is exactly what I was shooting for with the CPU clockspeed increase. Max wattage seen so far has been about 360 in BF4. All in all, it was exactly what I was shooting for. Next will be overclocking the GPU, while referencing my 450 watt limit. That is, I want to be under 400 watts ultimately, as I don’t want to destroy my PSU.

Though, I must say, this motherboard is very powerful, and very well done, replete with many useful options and tools to accomplish almost anything you could possibly think of doing in the vein of tweaking your system. For instance, my voltage offset increments for the CPU Vcore are .001 – very precise compared to what I am used to with my AMD chips, which are .00625. I imagine the high quality VRM daughterboard is to blame. The directkey function is convenient as well, it’s a simple button on the back of the motherboard, beyond the metal backplate that when pressed, functions as a power switch, with the caveat that if you boot with it, it automatically boots you into BIOS. Very nice, especially if you accidently find out what the POST delay function in BIOS is, the hard way, (like I did) and it POSTs faster than your keyboard is activated, effectively locking you out of BIOS until you pull the CMOS battery.
Yeah, laugh it up.

Also built into the suite is a secure erase function, which is a godsend! No more downloading Linux persistent environments, putting them on USB drives, and then running the firmware commands yourself. This motherboard has the commands built into the BIOS itself and communicates directly with the firmware on the drive to write 1s (or 0s) across the entirety of the drive, completely sanitizing it of all data. If you run an SSD, it’s especially useful to avoid the overhead of copying pages to the cache because of the limitation of being unable to delete pages, only blocks of pages. It essentially reverts the SSD back to factory defaults, until you fill it up again. Very useful.

Next up, GPU overclocks.

Posted in Projects | Leave a comment

Black Beauty Mark III (Beta)

(I say beta because the Ncase M1 isn’t here yet, and it’s all assembled on my “test bench”, the mobo tray of an old case)

20131126-185526.jpg

20131126-185537.jpg

20131126-185550.jpg

So everything’s in, except for the case, and what a bunch of solid performers. The single-threaded performance of the intel core chips certainly live up to their names in my usage so far. GPU utilization has doubled at the very least across the board, and the CPU is only clocked at 3400mhz! Clocked under my last CPU, it thoroughly outperforms it, and you can feel it throughout the system itself; everything loads faster, tasks are completed faster, all my programs are more efficient… It’s anecdotal as of now, but I have both systems side by side, and I’ve been using the same harddrive, so I can feel the difference pretty handily.

All FPS has doubled or beyond in all the games I am running at the moment, at max settings, and there’s still a few that are running the GPU up to 80% or so utilization… Not even 100%… So there’s some CPU headroom there that I could still stand to gain from, not even including the GPU’s headroom to match.

But that all depends on power requirements.

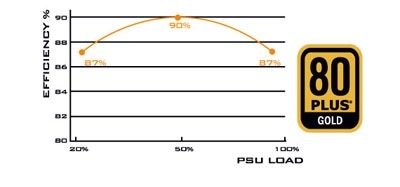
I’m running the silverstone 450w PSU on the system, and it’s an 80plus gold certified piece of kit, that can actually supply almost all it’s voltage on the 12v rail, which would never ever be necessary mind you. It seems to be market speak for “this 12v rail is strong!” rather than any show of realistic necessity. That being said, it was an important statistic to have, as the total wattage of a power supply shares 5v and 3.3v rails and ratings with the 12v rail, and in the past there was a crossover period when GPUs and CPUs (the heavier drains on the 12v rail) were overpowering underrated 12v rails on power supplies, even if the total wattage was high enough to cover them. So it was a case of how that wattage was supplied, and in what form.

But I digress.

The silverstone is rated at 87% efficiency at around 90% load, so something like this:

20131126-192324.jpg

(From their website, obviously)

I can expect to be on both ends in how I utilize my personal setups, so it should do very nicely. I’m glad PSUs are being looked at as integral hardware now, in quality and performance. Too long have we suffered from cheap ass power supplies that burn out in a matter of months and take parts down with them.
As of now, the i5-4670k is undervolted from a stock rating of about 1.024 to 0.912. I haven’t pressed it much just yet, as I’m still feeling for power ratings and MHZ requirements for that beastly… thing nestling in my pcie slot. At those ratings, wattage maxes out at around 330, when the GPU is at maximum utilization. Most of my “test suite” doesn’t hit max utilization, so it generally fluctuates between 180 and 250 watts. Keep in mind that these numbers are at the wall, meaning the power supplie’s efficiency rating applies. For example, those 180 and 250 ratings are near the middle on that picture above, so lets say, at minimum there’s a loss of 10% efficiency as that wattage is lost as heat. So what’s actually going through the system? Even less wattage, at around 162 to 225 watts, as the PSU’s rating is wattage supplied, and your consumer grade watt meters don’t tell the whole picture.

Obviously all these numbers will change as I open up the CPU and GPU a bit, but I am laying the foundation. Burning $1300 worth of hardware just isn’t my destiny.

Posted in Projects | Leave a comment

Parts awaaaaaaaaay!

Incoming:

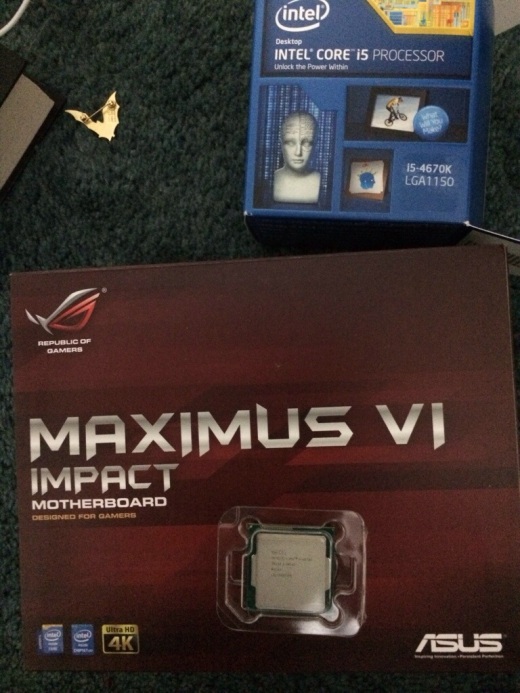
i5-4670k
Silverstone ST45SF-G 450W PSU
Asus Maximus VI Impact

and the bad boy ‘isself,

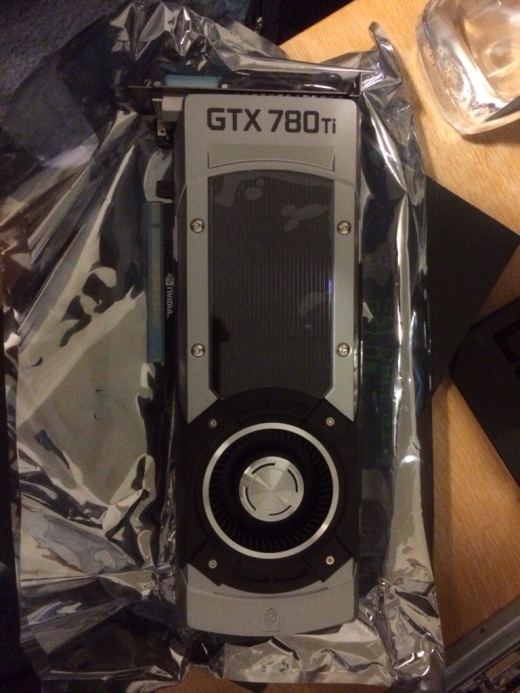
Nvidia GTX 780ti

GK110 in all it’s glory!

Perspective:

GK110 is effectively 7 billion on/off switches being utilized at 875-928 times a second…

Posted in Projects | Leave a comment